
There are many articles on Null-Byte explaining how to install Kali Linux on Raspberry Pis and how to set them up as "remote/mobile hacking platforms". But, most of these articles are either outdated or don't work for all versions of the Pi. So, I am here with a solution for all Pi owners without requiring the install of Kali Linux. As of the writing of this article, both the 64-bit and 32-bit arm images of Kali Linux either refuse to boot or have trouble with wifi and enabling 5GHz and Monitor mode.
This article also applies to those who want the functionality of Kali Linux on their Linux distro without having to install the whole operating system.
Note: THIS TUTORIAL WILL ONLY WORK WITH OSs SUCH AS UBUNTU, DEBIAN, AND RASPBIAN WHICH USE APT AS THE PACKAGE MANAGER
What You'll Need
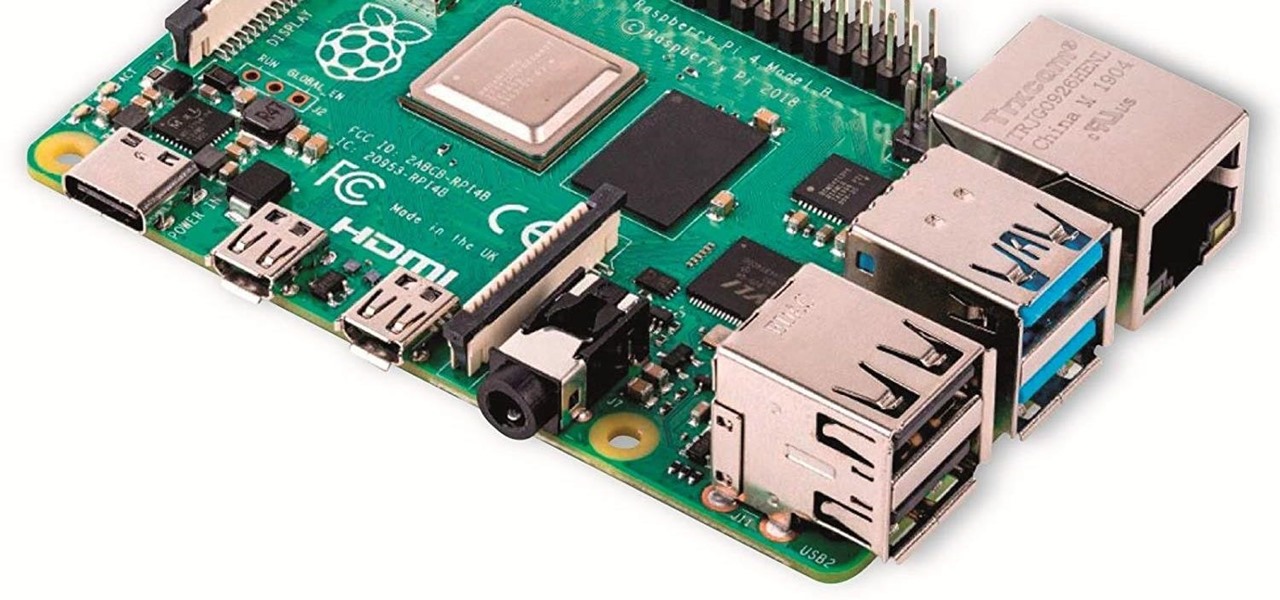
- A Raspberry Pi (Any Version/Revision!)
- A Windows, macOS, or Linux device with internet access
- A FAT32 formatted microSD card (or whatever storage type your Pi uses)
- A charger/power supply compatible with your device
- A keyboard, mouse, and monitor
Let's Begin!
Step 1: Flashing the OS
If you aren't using a raspberry pi, you can skip this step and install the OS however you choose.
For this step, we will be using the secondary device that we listed in the requirements.
Download the correct version of Raspberry Pi Imager for your OS from raspberrypi.org/downloads/.
Then, install the utility and run it. Insert or attach your sd card. Select the OS that you would like to flash to it. I recommend going with Raspbian as it is the most compatible and the lightest, but it won't affect the usability compared to something like Ubuntu. Select the sd card to flash it to and click write.
This will take some time to download, flash, and verify the integrity of the flash. If an error is found it will automatically notify you and begin to reformat and reflash the file.
Step 2: Booting the Pi and Initial Setup
If you aren't using a raspberry pi, you can skip this step and boot and setup your OS by yourself.
Insert the sd card into your Raspberry Pi and connect it to power. A red power LED should turn on and a green LED should start blinking. If the green LED isn't blinking, it is possible that the SPI EEPROM has become corrupted. You can usually fix it by updating the bootloader. To do this, go back to the Raspberry Pi Imager and it will be an option in OS selection section.
Once booted, your Pi will guide you through the steps of setting a password, hostname, and connection to the internet. After that, click the raspberry icon in the upper left-hand corner and select preferences and then Raspberry Pi Configuration. Next, select the Interfaces tab and enable SSH and VNC.
Now we're going to make sure the software and utilities are fully up to date.
Run these commands one-by-one in the terminal:
sudo apt update && sudo apt upgrade
sudo apt full-upgrade
sudo apt install rpi-eeprom
sudo apt autoremove
Some of these commands might take a while to finish, just be patient.
Step 3: Installing Kali Tools
Finally, we are going to start installing the tools we need from Kali. To do this, we are going to be using a tool called Katoolin. The installation is extremely simple and the same no matter what OS you are using.
(Make sure you have an internet connection before running these commands):
git clone github.com/s-h-3-l-l/katoolin3;
cd katoolin3;
chmod +x ./install.sh;
sudo ./install.sh;
Great! Now we are ready to start installing the tools. Run the tool by entering the following command:
sudo katoolin3
Select the first option to install all available kali linux packages and confirm your choice by selecting option zero. If you only want to install select packages, you can use the search repository function.
Visit github.com/s-h-3-l-l/katoolin3/blob/master/README.md for a full list of how to use Katoolin and all of its capabilities.
After the installation is complete, you can choose to continue to the next section of this article to create a Headless Hacking Platform, or reboot your Pi and enjoy.
Step 4: Headless Hacking!
If you want to be able to use your pi remotely or on the go, you don't want to have to add a monitor, keyboard, and connect to the internet every time. So, you should first enable wait for network on boot in your Pi preferences. Then, you can save the passwords that you are going to need to connect to wifi networks on the go. If there is no wifi where you are going or you will have no password and are attempting to crack a wifi password, either save the password to your phone's mobile hotspot or use an ethernet cable from your computer directly to your Pi to start an SSH connection. Other than that, you could speed up the boot of your Pi by uninstalling unnecessary programs and enable boot to CLI. If you do not understand how to do any of these things, there is lots of documentation on the Raspberry Pi website and on Google.
The easiest way, by far, is to ssh through an ethernet cable. Just connect it directly to the computer and the Pi. For this part, I will be explaining the steps as they would appear on a mac. First, download IP Scanner Pro from here: letsupload.co/4dwgC/nxmac.com_ipsc395.zip. We will be using this to find the IP of our Pi. Once the Pi is connected to the computer, simply run the IP Scanner utility. It will automatically start a scan for local network devices and list the device manufacturers next to the devices' IPs. Just find the IP of the Pi and open up a terminal.
Run the following command:
ssh pi@IP-of-your-Pi
For me, that would be:
ssh pi@192.168.0.25
Then you will be prompted to enter your password a connection will be established. From there, the terminal will act as a terminal on the Pi and you can run any commands you choose.
Note: THE IP OF THE PI CAN ALWAYS CHANGE SO CHECK IT EACH TIME YOU CONNECT OR GOOGLE HOW TO SET UP A DYNAMIC DNS SERVICE AND PORT FORWARDING ON A PI.


Be the First to Respond
Share Your Thoughts