

In this article we will learn about phishing and how to phish people using Hidden Eye phishing tool.
Phishing
Phishing is a social engineering technique to steal sensitive information like username, password, credit card details, bank account information etc by compromising victims into performing specific action such as clicking on crafted link or downloading malicious program. In this electronic communication, attacker disguises himself as a trustworthy person of victim so that victim is convinced to execute the intended program.
It requires human interaction and success depends on human unconsciousness. Suppose someone gets a mail to login his internet banking site and change his password due to up-gradation of the site. There is high possibility that he will get phished and his account details may be sent to attacker.
There are many phishing tool, among them Hidden Eye is one of advanced tool having some extra feature like keylogger, ngrok to work the phishing link outside of the local network and much more.
Installation
Clone the HiddenEye tool from Github repository.

After completing cloning, provide full permission.

Now navigate to the HiddenEye directory and install the requirements. Pip3 is python3 compatible command. if you don't have python3 installed in your system then run the command "apt install python3-pip" to install it. Or you can search whether pip3 is installed or not using dpkg command. It will show the status.

Run the following command to install requirements

Then run the following command to check if the requirements are satisfied or not.

Running HiddenEye
Now fire the below command to run HiddenEye.

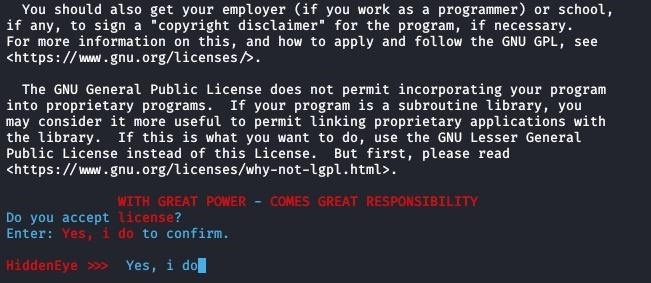
Agree with the license. This is for first when you run. From next time you will not see this screen.
Main screen of HiddenEye will be appeared.
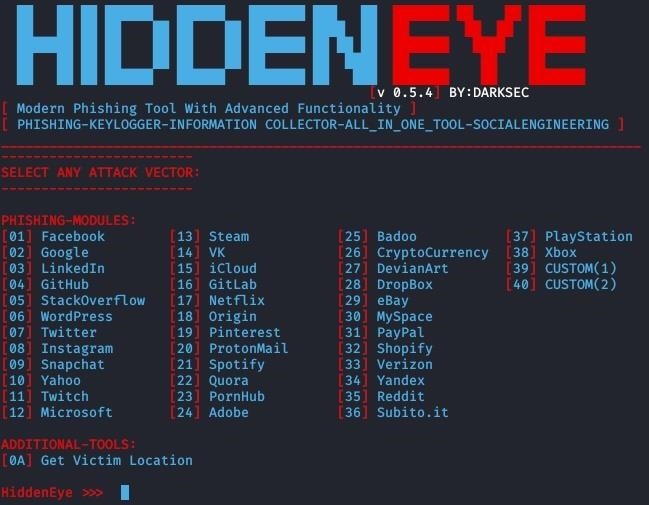
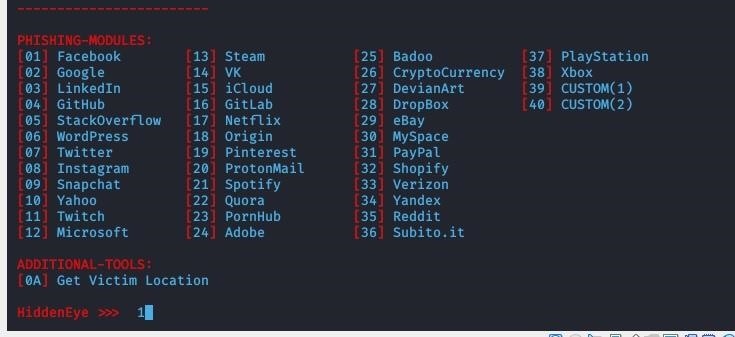
Now select the page you want to phish with.
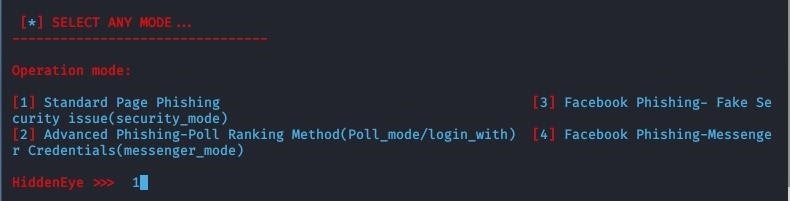
Then select the mode you think is most effective to manipulate the victim.
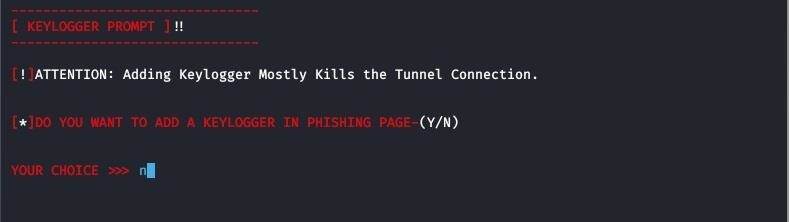
You can add keylogger in phishing page. I am not going to add now. Just to make this tutorial simple.
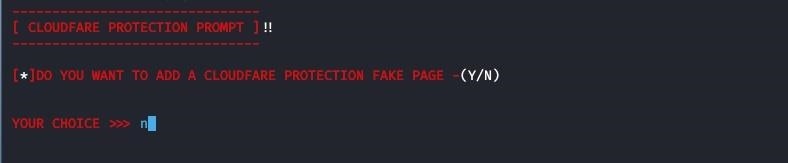
You can enable or disable cloudflare protection. I am disabling it.
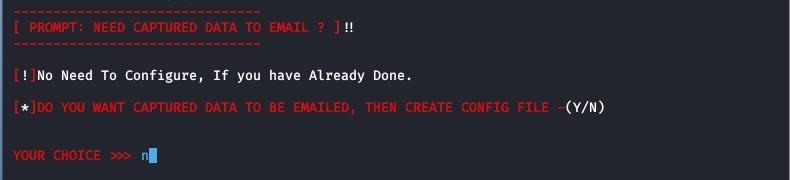
Email can be configured to send the captured data via email. I am not configuring because I can get the captured data in the screen when victim will enter the details. But if you wish you can configure.
Put the link of the page where it will be redirected to after entering the details by victim.

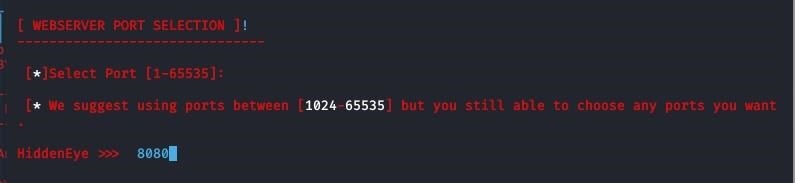
Select the port.
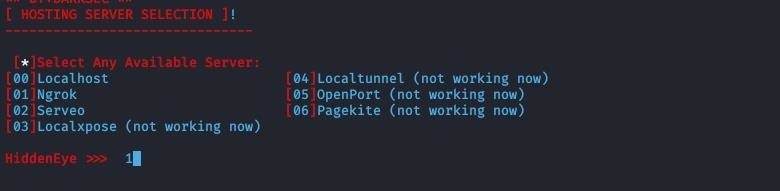
Select the server. I am selecting Ngrok so that the phishing url works outside of local network i.e; WAN.
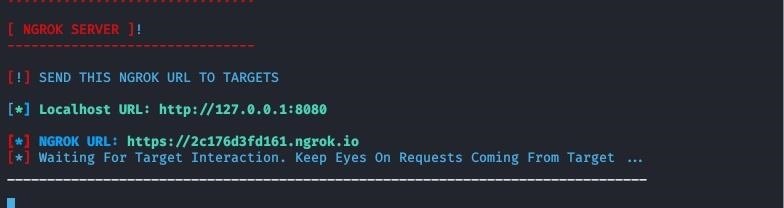
Now you are finished with the required setup. Copy the Ngrok url and send to victim. You can make the url short with any url shortener to disguise the actual link so that victim will not suspect it as malicious link.
Now enjoy phishing.
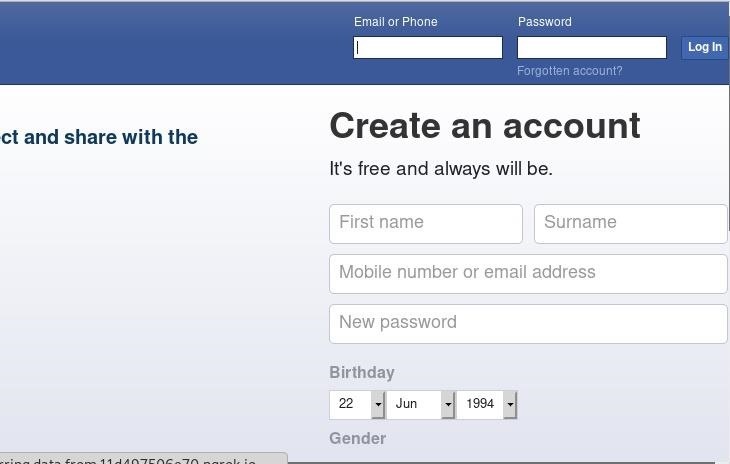
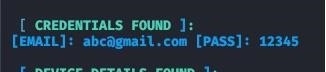
You will get the credentials when victim inputs his email and password.
Sometimes, if the webpage has lot of images, graphics then ngrok failes to create tunnel. Because free version has limitation of inbound connection. In that case you have to pay for increasing the limit. Otherwise you can select such option which page has less graphics, image etc.
Reference
1 DarkSecDevelopers/HiddenEye: Modern Phishing:github.com/DarkSecDevelopers/HiddenEye


2 Responses
Coll
Do it work now??
Share Your Thoughts